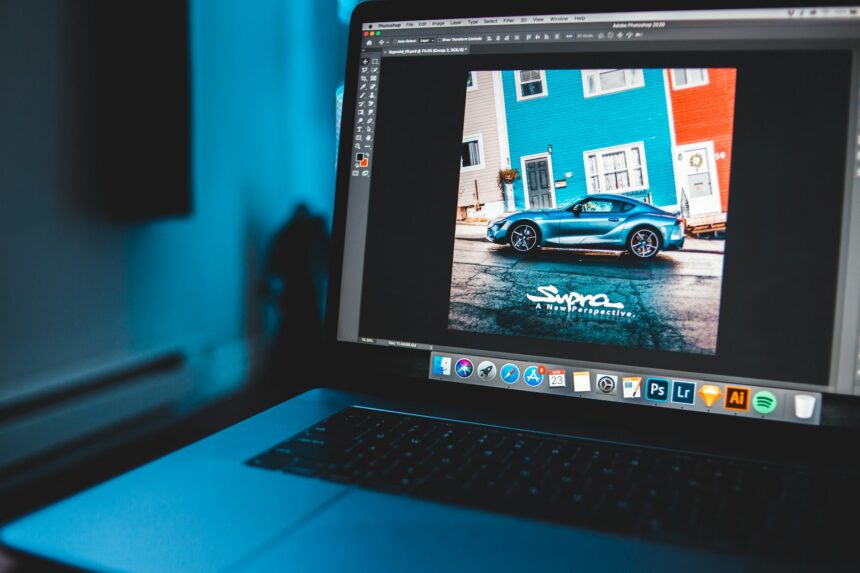
Photoshop’s AI features have turned tasks that used to take careful manual work removing an object, extending a background, adding an element that wasn’t there into a matter of typing what you want and clicking generate. If you’ve been using Photoshop the old way, or you’re coming to it specifically for its AI tools, the change is significant: you can now create and alter image content with text prompts right inside your existing workflow.
This guide walks through how to use AI to create images in Photoshop in practical terms: the main AI features and what each does, step-by-step how to use Generative Fill and Generative Expand, how to write prompts that work, how to fix disappointing results, and the real limitations and costs. It assumes basic Photoshop familiarity but explains the AI parts clearly. The focus is on getting usable results, not just listing features so you finish knowing how to actually put these tools to work.
What Photoshop’s AI Features Actually Do
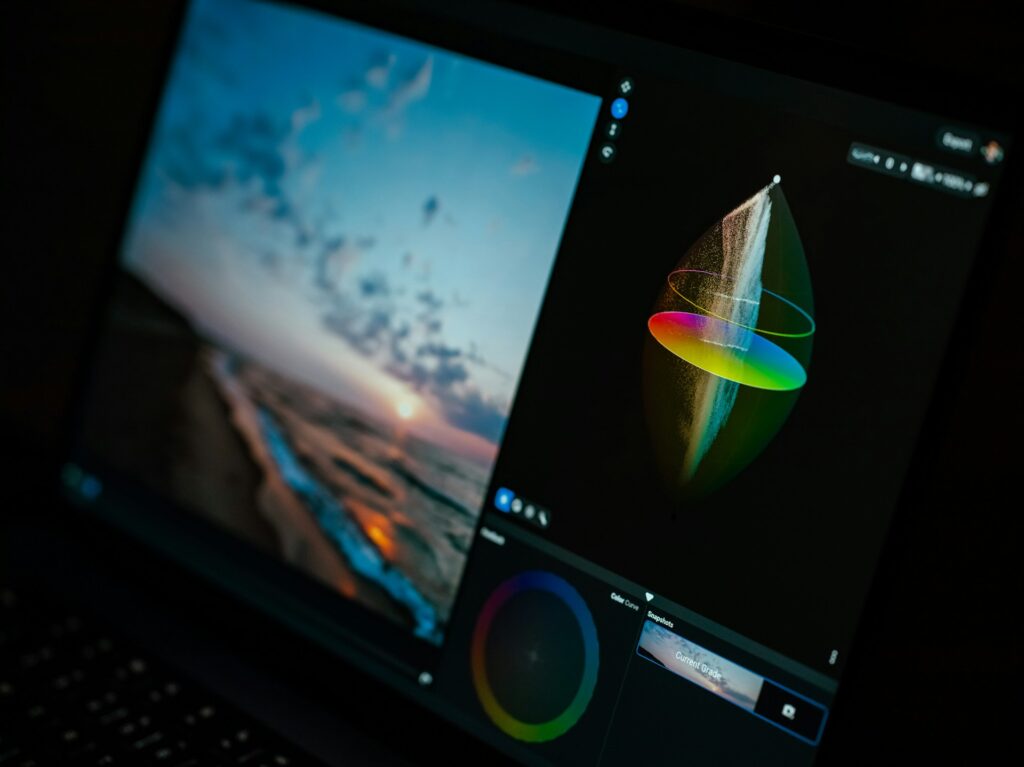
Photoshop’s AI tools are powered by Adobe’s Firefly generative model, built into the app. The main features worth knowing:
- Generative Fill: Select an area and type a prompt to add, replace, or remove content within the image. This is the workhorse feature.
- Generative Expand: extend the canvas beyond the original image’s edges, with AI filling in the new space to match.
- Text-to-image/generating from scratch: newer versions let you generate images from a text prompt directly, not just edit existing ones.
Together these let you both create new image content and modify existing images using text, all without leaving Photoshop. A key practical point: because these run on Firefly, which Adobe trained on licensed and public-domain content, the output is designed to be safer for commercial use than images from some other generators, useful if you’re doing client or professional work.
Before You Start: Requirements and Cost
A few practical realities to know up front. Photoshop’s generative AI features require a current version of Photoshop and a Creative Cloud subscription; they’re not free, and they’re not part of older standalone versions. You also need to be signed in to your Adobe account and connected to the internet, since the generation happens on Adobe’s servers.
There’s also a usage system to be aware of: Adobe uses “generative credits” for its AI features, and plans include a monthly allowance that can run out with heavy use, after which generation may be slowed or require more credits. The exact allowances and terms change, so check Adobe’s current Creative Cloud plan details rather than assuming. If you don’t have a Creative Cloud subscription, free alternatives like the web version of Adobe Firefly, Canva, or ChatGPT can create AI images too, though without Photoshop’s deep editing integration.
A privacy note: generation uploads your image data to Adobe’s servers for processing, so be mindful with confidential or sensitive images and review Adobe’s terms on how content is handled.
Step by Step: Using Generative Fill
Generative fill is where most of the value is. Here’s how to use it to add, replace, or remove content.
- Open your image in Photoshop and make sure you’re signed in.
- Select the area you want to change using any selection tool, the Lasso, the Rectangular Marquee, or the quick selection tools. For adding something, select the space where it should go; for removing something, select the object.
- Click Generative Fill from the toolbar that appears (the contextual task bar) or the Edit menu.
- Type your prompt describing what you want in that area, “a vase of flowers,” “clear blue sky,” or leave it empty to remove and fill naturally. Keep the prompt focused on just that selection.
- Click Generate. Photoshop produces a few variations on new layers.
- Choose the best variation from the options, or generate again for more.
Because results appear on separate generative layers, your original image stays intact underneath so you can experiment freely and delete anything you don’t like without damaging the original.
Common uses: removing an unwanted person or object from a photo, adding an element (a bird in the sky, a product on a table), replacing a background, or filling in gaps. For removals, Generative Fill often blends more naturally than the older clone or content-aware tools.
Step by Step: Using Generative Expand
Generative Expand is for when you need more image than you have a wider shot, a different aspect ratio, or room for text.
- Select the Crop tool.
- Drag the crop handles outward beyond the current image edges to the size you want.
- A prompt box appears. Type a description of what should fill the new space, or leave it blank to let Photoshop extend the existing scene naturally.
- Click Generate, and Photoshop fills the expanded area to match the original.
This is especially handy for reformatting an image, turning a vertical photo into a horizontal banner, say, without awkward stretching or empty space.
Writing Prompts That Work in Photoshop
The same prompting principles that apply to any AI image tool apply here, scaled to the specific selection. A few tips:
- Be specific but focused. Describe just what belongs in the selected area: “a wooden park bench, weathered,” not a whole scene.
- Match the existing image. Mention style, lighting, or angle so the generation blends in “in soft afternoon light” if the photo has that light.
- Keep it simple for removals. Often an empty prompt works best to remove and fill naturally.
- Generate multiple times. Each generation gives variations; run it a few times and pick the best.
- Iterate on the prompt. If the result is off, tweak the wording and regenerate rather than settling.
Because generative fill works within a selection that already sits in a real image, matching the surrounding context matters more than it would for a from-scratch generation.
Fixing Disappointing Results
AI generation in Photoshop isn’t perfect, and results sometimes miss. When that happens:
- Regenerate. The simplest fix for each generation varies, so another attempt may nail it.
- Refine your selection. A cleaner or differently sized selection often improves results; try selecting slightly more or less area.
- Adjust the prompt. Add detail or change wording.
- Generate in smaller pieces. For complex changes, do several smaller generations rather than one big one.
- Blend manually. Since results are on their own layers, you can mask, erase, or adjust them with Photoshop’s normal tools to integrate them better.
The advantage of doing this in Photoshop specifically is that you’re not stuck with the raw AI output; you have the full editing toolkit to refine, blend, and correct, which is exactly why integrating AI into Photoshop is more powerful than a standalone generator for serious work.
Known Limitations
Being realistic about the weaknesses saves frustration:
- Hands, faces, and fine detail can come out distorted, as with all AI image tools. Expect to regenerate or fix manually.
- Text within images is unreliable; add real text yourself using Photoshop’s type tools.
- Resolution and detail of generated areas may not perfectly match a high-resolution original, sometimes needing touch-up.
- Content restrictions apply: Adobe blocks certain prompts (e.g., some public figures, explicit content), so not everything will generate.
- Credits and cost can limit heavy use, as noted.
None of these make the tools unusable; they just mean AI generation is one capable part of your workflow, finished off with traditional editing.
A Note on Honesty and Rights
Because Photoshop is widely used professionally, two points matter. First, Firefly’s training on licensed content makes its output comparatively safe for commercial use, but still check Adobe’s current terms for your specific use case. Second, with powerful editing comes responsibility: altering photos with AI adding or removing elements, changing scenes, can mislead if the image is presented as an unedited record of reality. For journalism, documentation, or anything where authenticity matters, be transparent about AI edits. And given that AI image detectors and content-credential systems increasingly flag synthetic or edited images, honesty is both the ethical and the practical choice.
The Takeaway
Creating images with AI in Photoshop centers on two features: Generative Fill for adding, replacing, or removing content within a selection, and Generative Expand for extending the canvas both driven by text prompts and Adobe’s Firefly model. Select your area, write a focused prompt that matches the existing image, generate, and refine, using Photoshop’s regular tools to blend and fix the results.
Keep in mind it requires a paid Creative Cloud subscription with generative credits, struggles with hands and in-image text, and should be used honestly when images represent reality. Used well, these tools fold AI generation into a professional editing workflow far more powerfully than any standalone generator letting you both create and perfect images in one place, as long as you treat the AI output as a strong starting point rather than a finished product.
Suggested Internal Links:
- Article: How to Use AI to Create Images “How to Create Images with AI”
- Article: How to Write Better Prompts for AI: “Writing prompts that get better results”
- Article: Best Free AI Tools for Everyday Use “free AI image tools worth trying”
- Article: What Is Generative AI? “How generative AI creates images”
External Sources:
- Adobe—Photoshop Generative Fill and Generative Expand documentation
- Adobe—Firefly and generative credits information
- Adobe—Creative Cloud plans and pricing
Read More Articles on AI Global Class